Setting up
Pesto is hosted on the pypi package index. Assuming that you have python installed (>=3.8), install the latest version of the pesto package with pip. This will automatically handle all dependencies
pip install blochpesto
To update an existing installation to the latest version,
pip install --upgrade blochpesto
Note 1: The installation pip command is to be typed into a terminal / command prompt. In the specific case that you are using Windows and have installed python through the Anaconda distribution, you will probably need to use ‘Anaconda prompt’ instead of the native windows ‘Command prompt’ or ‘Powershell’.
Note 2: The package is still called pesto, but that name is already taken on the pypi index. The rest of this documentation is going to assume that you are using it by import it as pesto:
import blochpesto as pesto
Note 3: To see where the pesto library has been installed, run (within a python environment):
pesto.__path__
For example data to test it out with, visit BlochDocs.
Installing on a computer without internet access
From a computer that does have internet access, you can ask pip to download everything you will need for a completely offline installation. From inside a dedicated subdirectory/folder:
pip wheel blochpesto
Then copy that folder with all the .whl files to the offline computer. From that computer, run:
pip install --no-index blochpesto-1.1.0-py3-none-any.whl --find-links ./
(changing the blochpesto filename to match the one you downloaded)
Source code
The source is hosted on gitlab.
Working with jupyter notebooks
Start a Jupyter notebook server
Jupyter notebooks require a server to be running in the background in order to bring them to life. You can launch one from a terminal by typing
jupyter notebook
A new page should automatically open in your default web browser. It’s like a file browser but for Jupyter notebooks. Depending on which version of jupyter you have, it will look something like this:
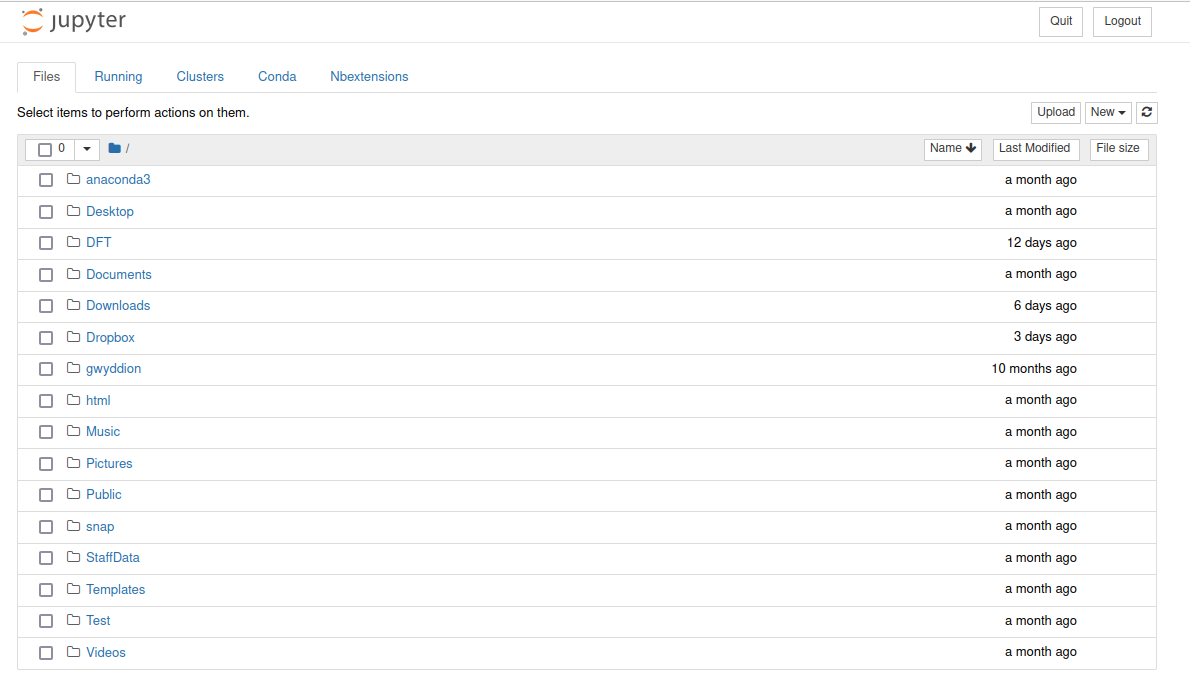
Notice that it’s showing you the contents of whatever directory you launched it from. In the Jupyter file browser you can go deeper into sub-folders, but you can’t navigate ‘up’ out of the directory you launched it from.
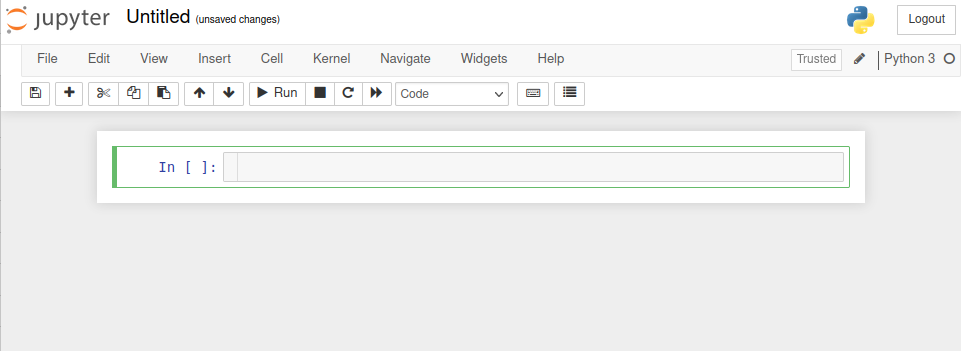
Here you can select an existing notebook to open and work on, or create a new one. In both cases you’ll be taken to that notebook in a new tab:
You’ll then be taken to that notebook in a new tab:
Using pesto in a Jupyter notebook
Below is the recommended default header block for importing pesto into a notebook. It also imports packages commonly used alongside it, and attempts to widen the working area of the notebook. (Or if you prefer, download a template notebook with the header pre-populated).
import blochpesto as pesto

import scipy,matplotlib,numpy as np,matplotlib.pyplot as plt

# Attempt to increase the notebook width
try:
    from IPython.display import display, HTML
    display(HTML("<style>.container { width:75% !important; }</style>")) # For jupyter versions <=6
    display(HTML("<style>:root { --jp-notebook-max-width: 95% !important; }</style>")) #For jupyter versions 7+
except:
    pass

%matplotlib widget
#%matplotlib inline
If all goes well, you should see some output like this:
-- pesto 1.1.0 --
Using matplotlib        3.8.4
Using numpy             1.26.4
Using ipywidgets        8.1.5
Using ipympl            0.9.6
Taking A-branch analyzer workfunction = 4.34eV, calibrated 2023.08.28
Call pesto.setAnalyzerWorkFunction(value_in_eV) if you wish to change this
You’re now set up and ready to go.
Open notebooks by double clicking on them
It can be quite inconvenient to always have to open a terminal and launch a server when you want to work with a notebook. It would be much nicer to be able to just double-click on a notebook file and automatically launch a server for it in the background.
The solution in place on the Bloch computer (Windows 10) involves the nbopen package, which allows you to double click on an existing notebook in windows explorer. The github page has straightforward two-step instructions for installing and configuring it.
A mac-specific alternative is to configure Automator. Open Automator and create a new ‘Application’ document. Select ‘Run shell script’ from the library of actions. Change the shell to /bin/zsh, Pass Input to ‘as arguments’ and paste the following into the body:
#!/bin/sh
variable="'$1'"
the_script='tell application "terminal" to do script "jupyter notebook '
osascript -e "${the_script}${variable}\""
Save that somewhere as a .app file. Then in Finder select an existing jupyter notebook (.ipynb file) and configure it to ‘always open with’ the app file you just made.
Notes
On linux the pyperclip module may require you to install xclip before it will work. Install from the terminal with sudo apt install xclip
Plotting style: The default matplotlib backend in a jupyter notebook is ‘inline’. The ‘widget’ mode enables interactivity (zooming, value-under-cursor readout etc) and so is very commonly used. In some circumstances you might prefer the inline style, e.g. when rendering final images for reports or publications. Change the backend using %matplotlib inline or %matplotlib widget. The setting will persist through the whole notebook, and you can switch back and forth as often as you like. Sometimes the output doesn’t make sense when changing from widget back to inline modeas it needs to clear some kind of buffer - you can usually fix this by just running the cell again.
Jupyter, python and matplotlib are enormous, pre-existing projects. When it comes to making sophisticated plots or analysis, you’ll find a vast supply of very good documentation and tutorials online.